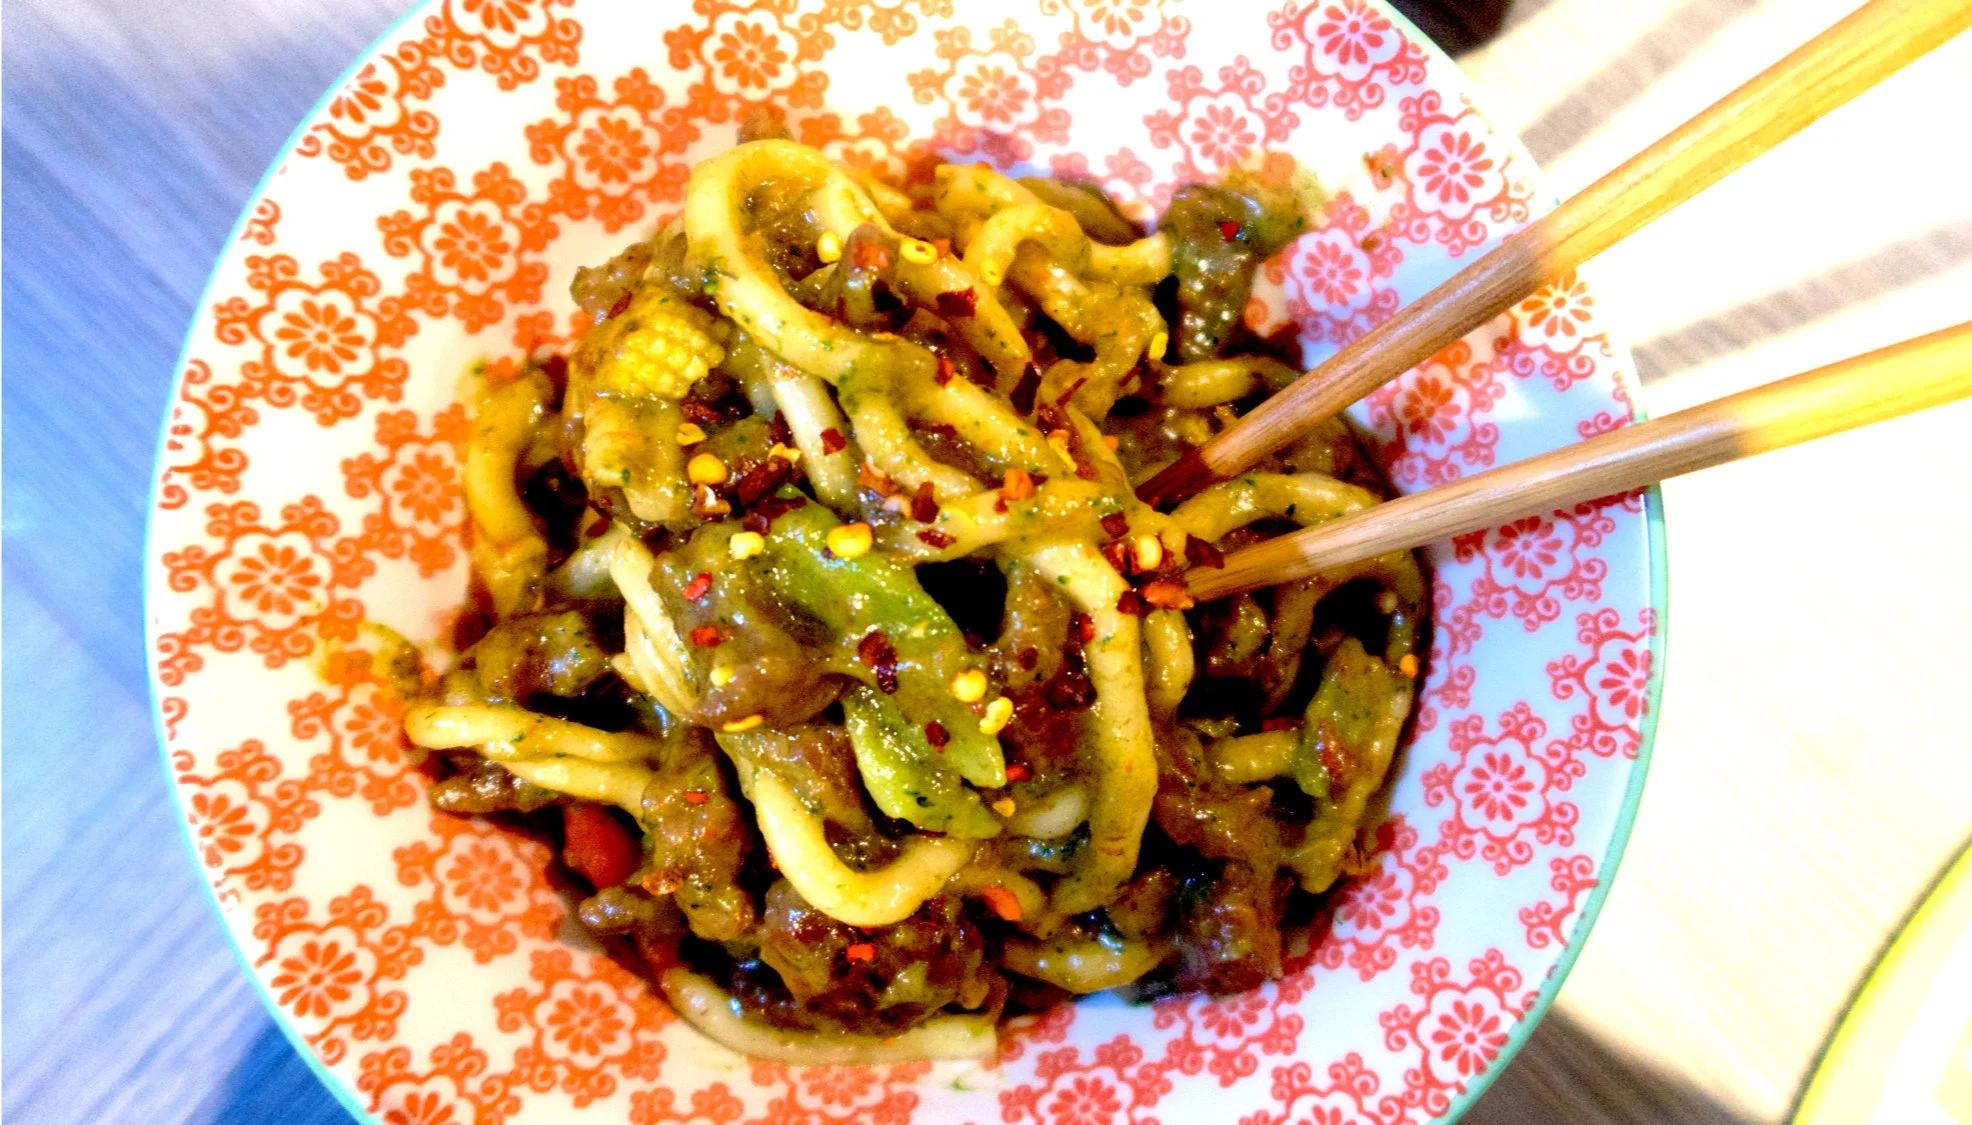
Coconut Beef Udon Noodles Recipe
Hi sweetpeas! Super excited to be popping my first recipe on here!
I l o v e Eastern Asian cuisine. Chinese food, Thai, Japanese, you name it, I'll gobble it. And I've always been so confused as to how my takeaways have the silkiest, most tender meat. One of the first meals I made when Jamie and I moved in together was a stir fry. I bought these pre-cut beef strips from Tesco, and to cut a long story short, it was inedible. The strips were super chewy, Jamie was very hungry, and I was very embarrassed! But no more, because I've cracked it!
After a quick online search, it turns out that Chinese cuisine uses a process called 'velveting' their meat to make it so soft. I've used it in this recipe, and it means that you can cook cheaper cuts of meat quite quickly, and get beautifully soft results every time! So without further ado, here's my recipe for coconut beef udon noodles.
I don't follow recipes very well myself and made this by popping lots of ingredients together that I love. This creamy, nutty concoction with a spicy kick was the result, but if you don't like any of the ingredients, you can just swap it out!
INGREDIENTS:
2 tsp bicarbonate of soda
400g beef (any cut, I used diced rump from Tesco for £3)
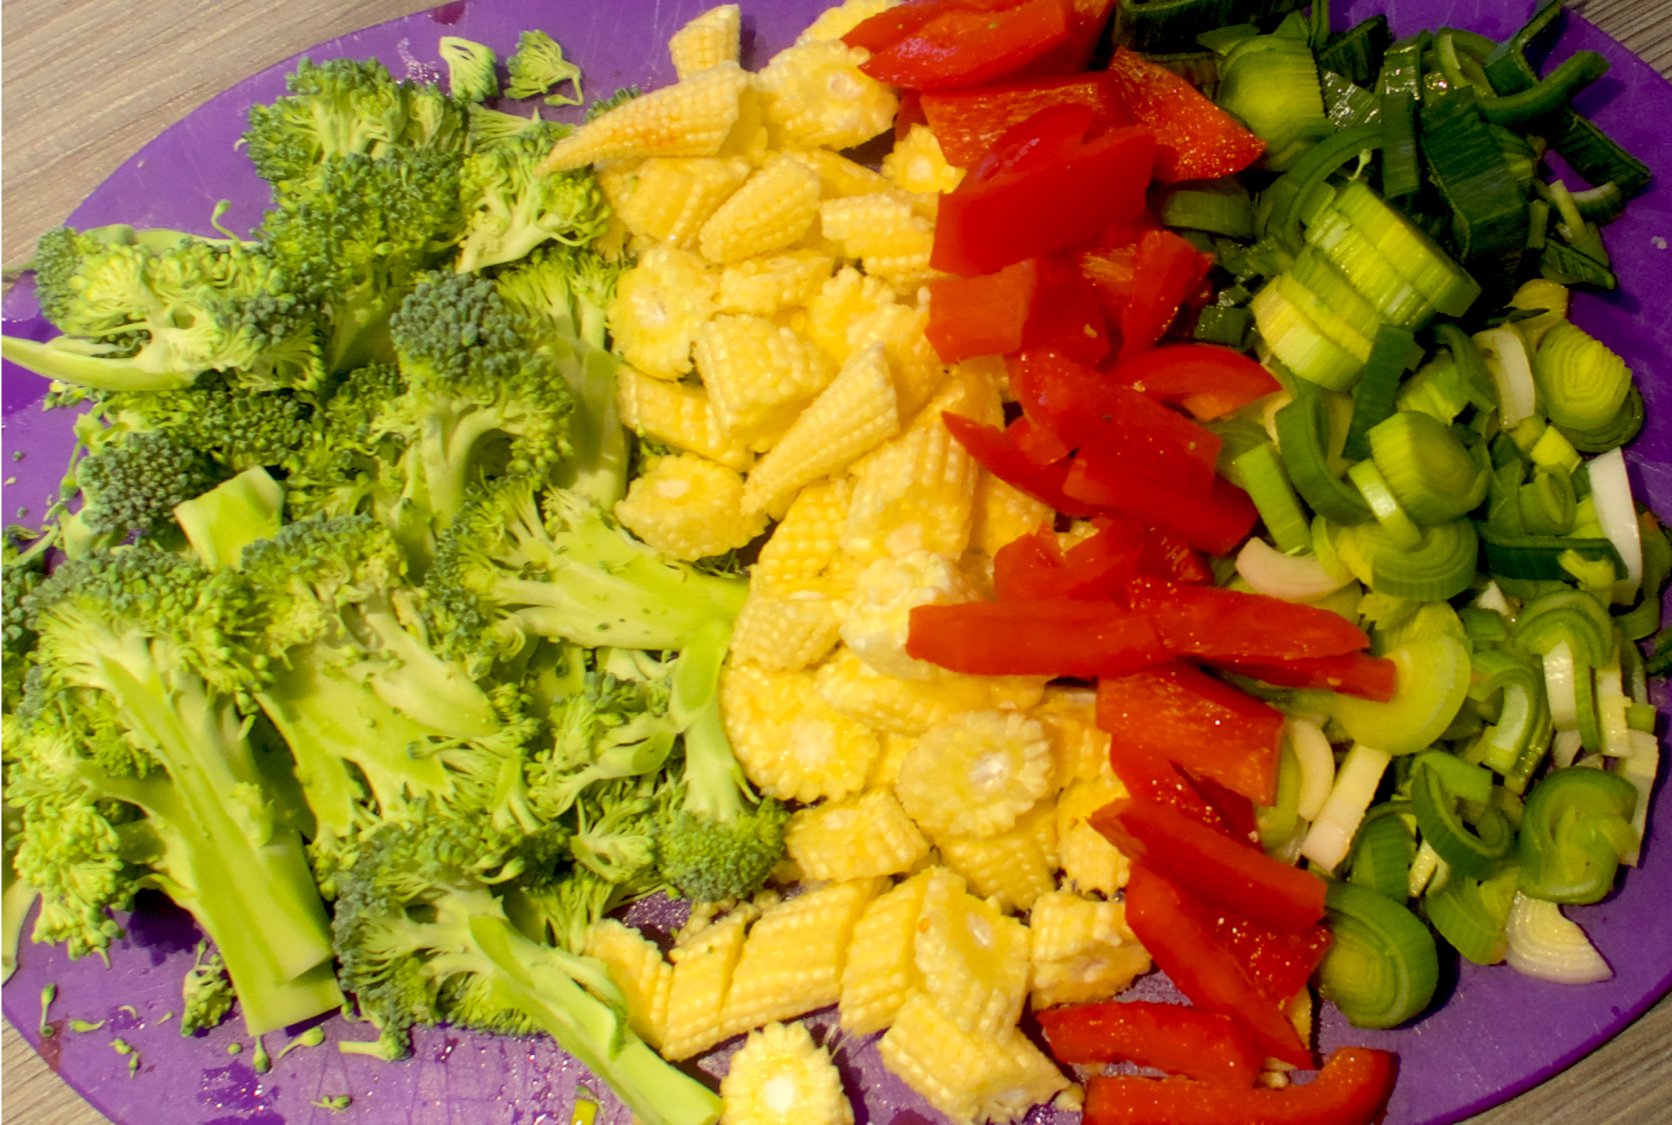
A selection of vegetables: I used 1 red pepper, 1 leek, baby corns, and broccoli
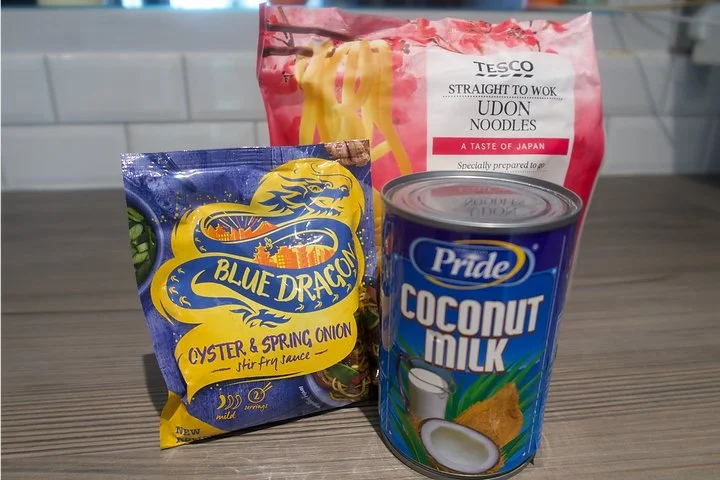
1 x stir fry sauce (I used Blue Dragon's spring onion stir fry sauce for £1)
1 x can of coconut milk
1 x packet of Udon noodles
My chosen spices & seasoning:
Salt, pepper, crushed chilli flakes, garlic salt, and toasted sesame oil.
METHOD:
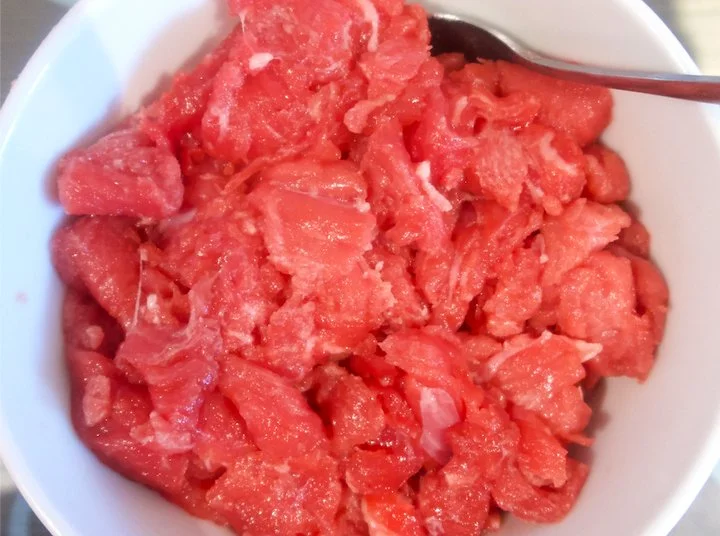
1. Firstly, velvet the meat. Cut it (against the grain if you can) into small bite-sized pieces and mix it thoroughly with 2 heaped teaspoons of bicarbonate of soda. Squish this into a bowl tightly and leave it be for 30 minutes. It'll start to faintly fizz (this means it's working!)
Meanwhile, you can:
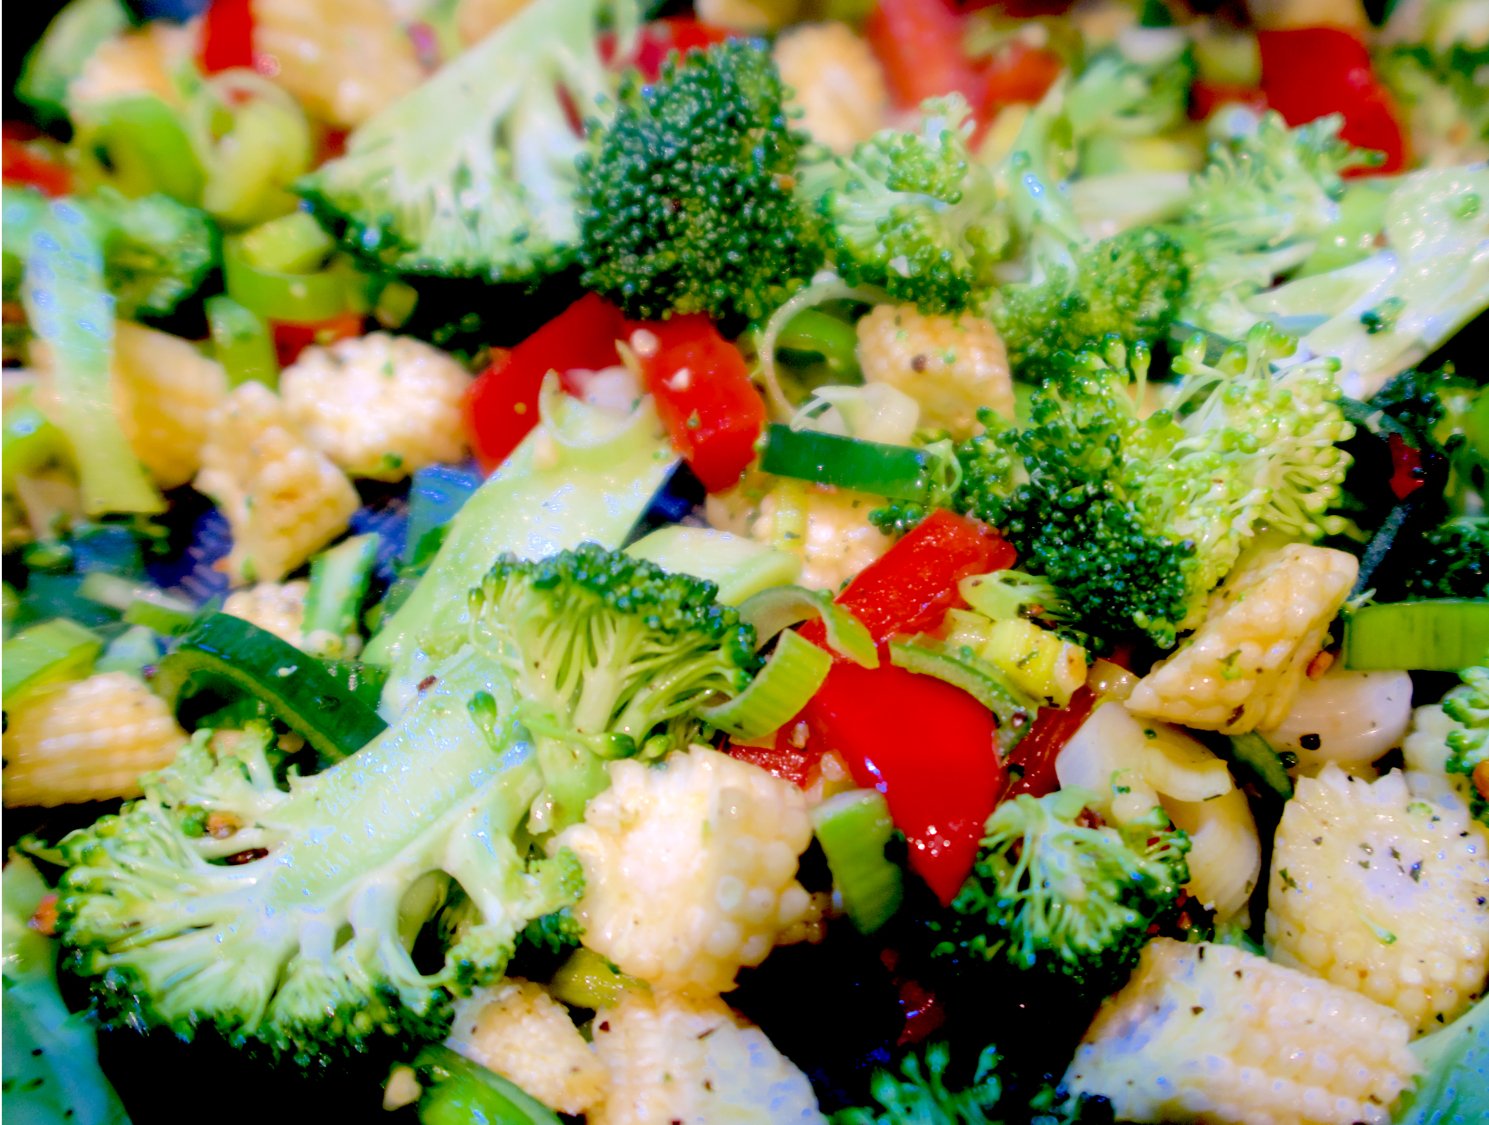
2. Cut your vegetables into small bitesize pieces too. You can honestly use anything here, I chose a red pepper, a leek, some baby corn, and broccoli. Beansprouts are always a favourite, but I'm not too fond myself.
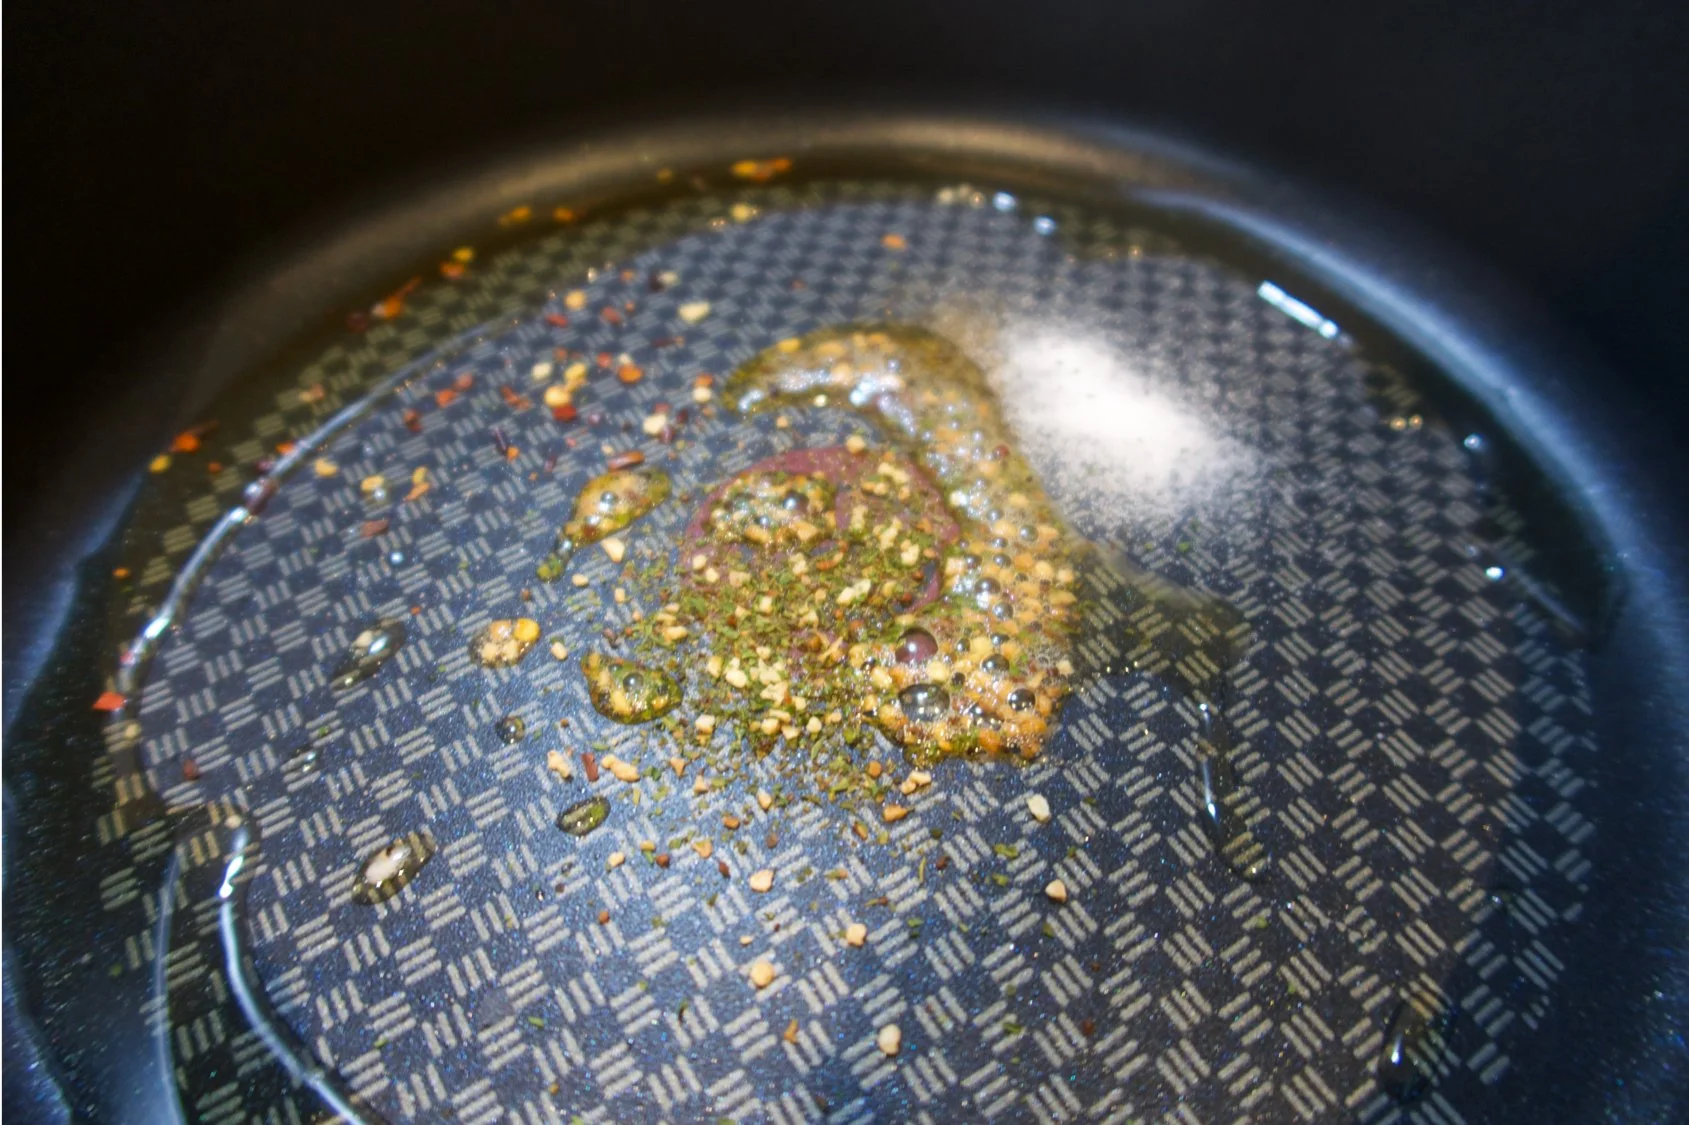
3a. Get a decent swig of oil in a large pan, and let this warm on a high heat for 30 seconds. Then, add your seasoning: I used a pinch of salt, a few shakes of pepper, a hearty pinch of crushed chilli flakes, and a teaspoon of garlic salt - a clove of garlic finely chopped would work great too. Stir this around the oil for 1 minute, then add the veggies, and stir fry these for 3 minutes, or until cooked.
3b (optional) : If you like crunchy veg, you should remove it from the pan, and set this to one side. If you like soft veg, or have picky eater that don't like noticable veggies, skip this step.
4. Once 30 minutes has passed, you'll notice the beef may look slightly translucent. Pop the beef in a small strainer and wash it under the tap to remove the bicarb. It's important you wash this thoroughly, or your beef will taste bitter.
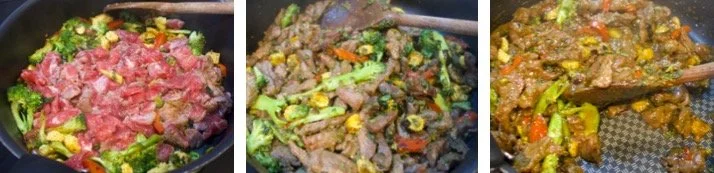
5. Add the beef to the hot stir fry (add another small swig of oil if needed), and do not stir it for a hot minute. If you want it to get that beautiful golden colour, resist the urge, let it brown, and occasionally stir it afterwards until it's all cooked (this should take no more than 4 minutes in total).
6. Now you can add your stir fry sauce, keeping it on a high heat and stirring it frequently. You'll notice the sauce pretty much thickens and disappears, coating the meat (and veg) in a beautiful, sticky glaze.
7. Open your can of coconut milk, and use a spoon to break through the harder coconut layer if there is one. (Top tip: do this carefully! I've used coconut milk so many times, and every time I push through with too much force and the water-part bursts through and goes all over my worktop and myself. Today was no exception...)
8. Add half the jar (that's half the water, and half the solid mass) into the pan, and lower the heat a little. Let the coconut milk melt, then thicken.
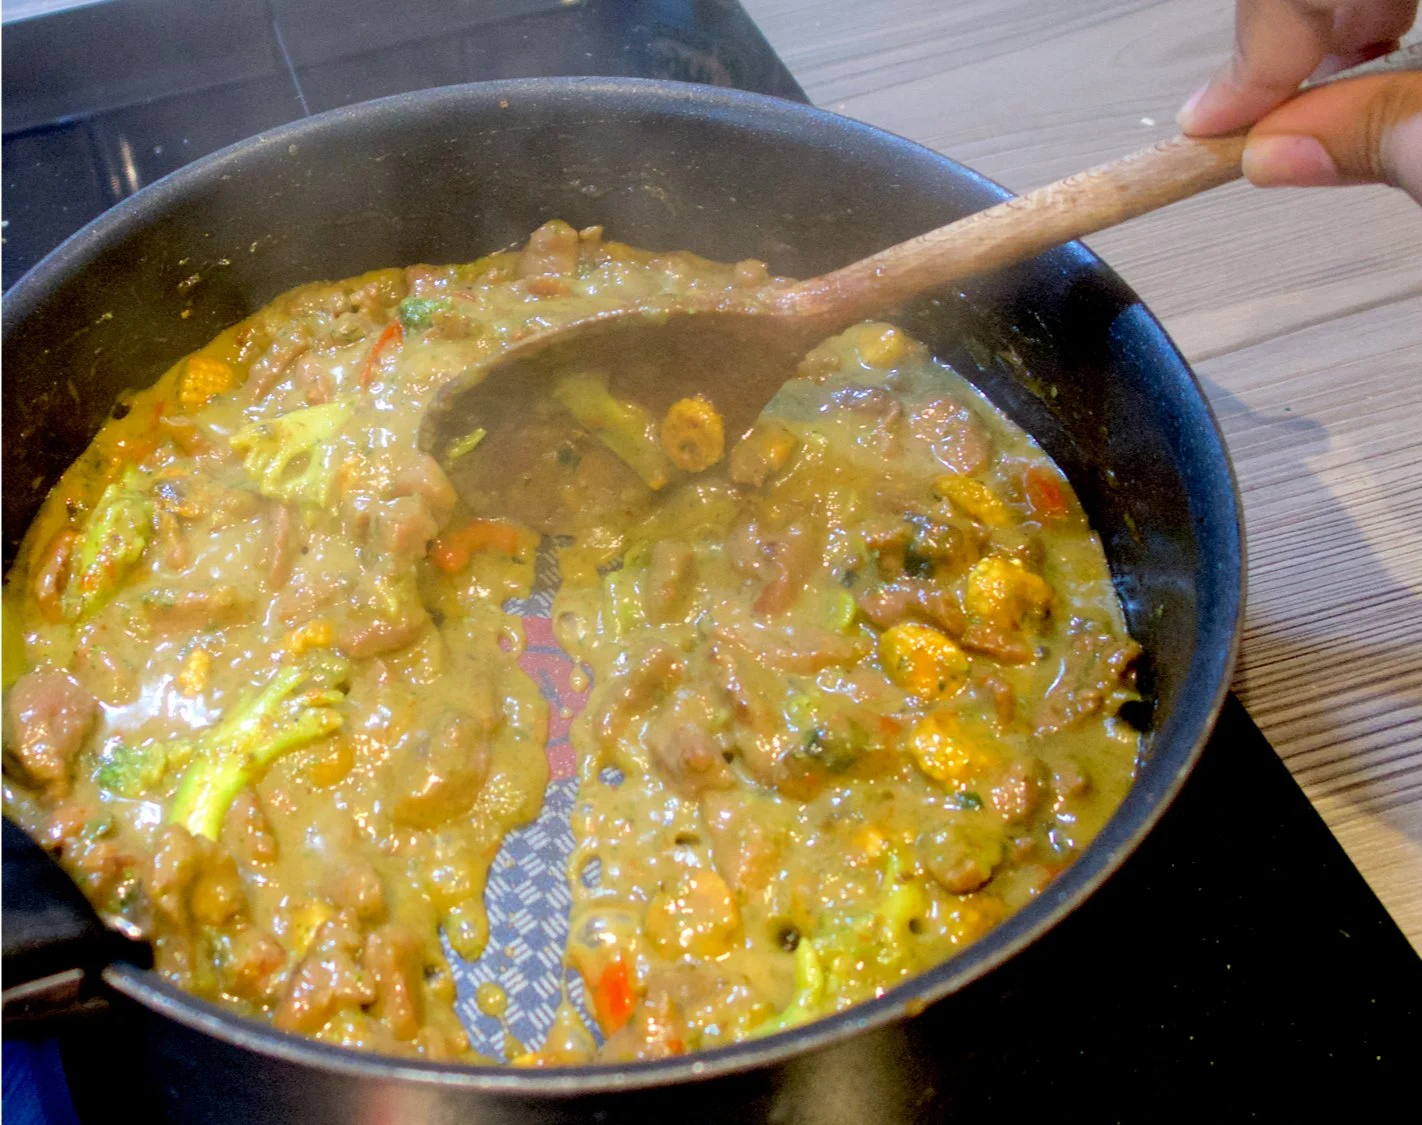
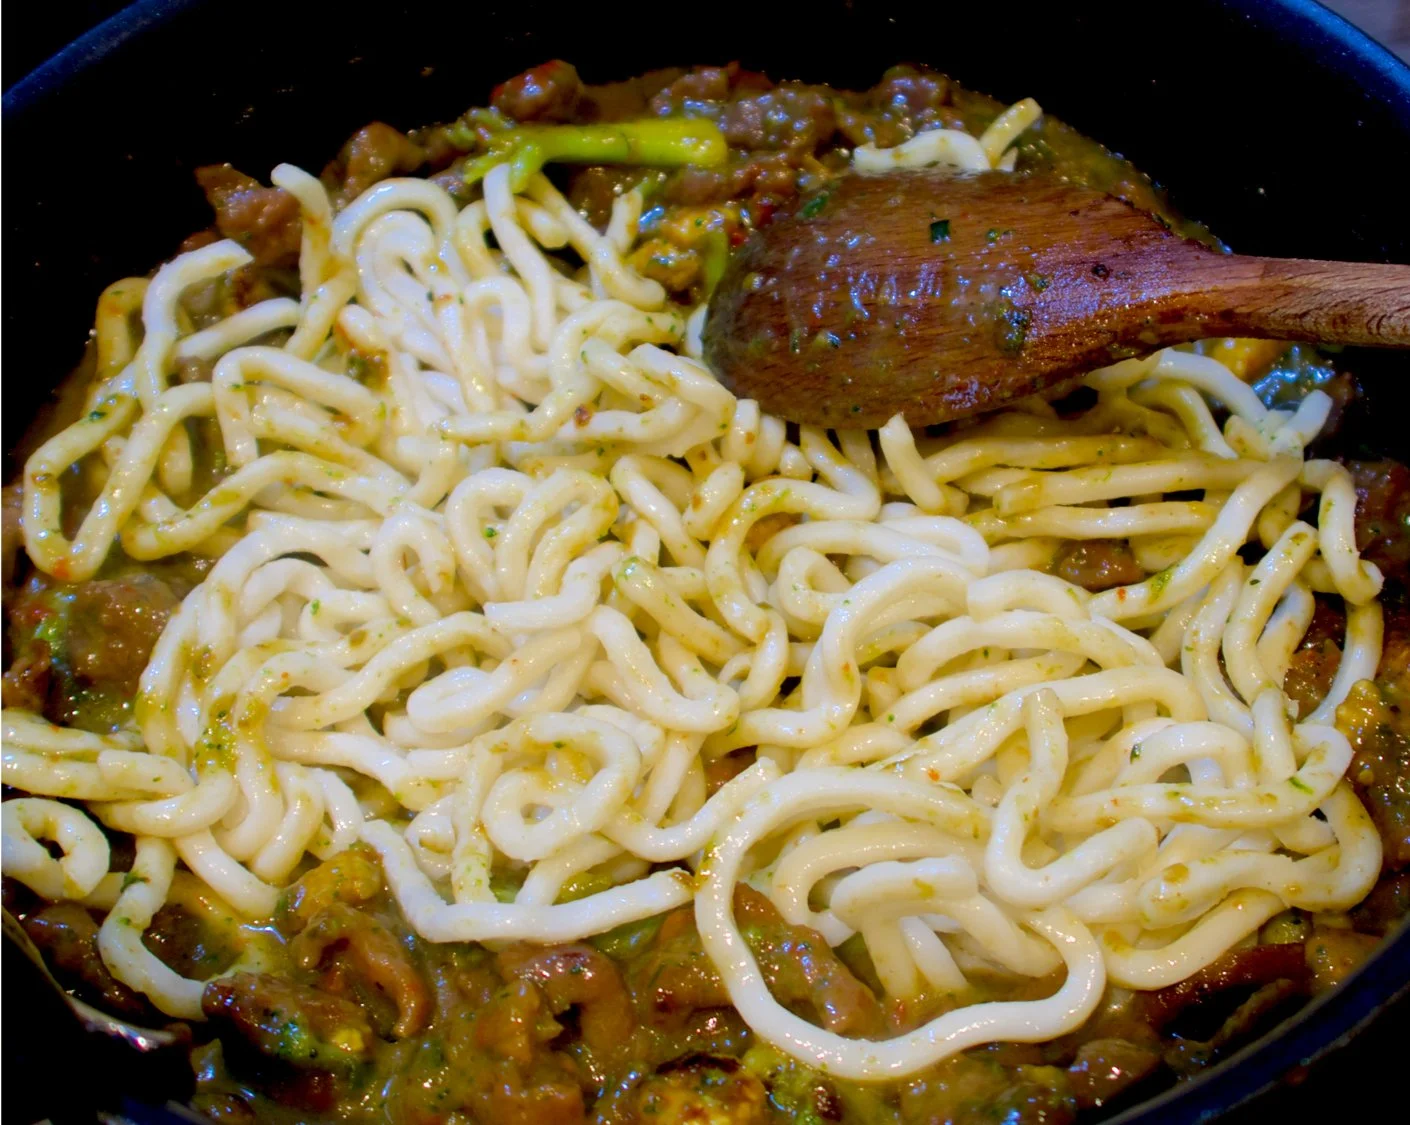
9. You can tell it's thick enough when you scrape the spoon across the pan, and you can see the bottom of the pan for a few seconds before the sauce covers it. Now you can open the noodles and add them too.
Note: my udon noodles were already cooked and just needed a quick stir fry to warm up. If you have dried noodles, make sure you boil these first!
10. Stir the noodles thoroughly, (pop the veg back in if you set it aside earlier), and add more coconut milk as needed to get it to your preferred consistency. Of the half-can left over, I used most of the hard coconut cream and half of the water, as Jamie doesn't like things too soupy. If you like soupy ramen, go crazy and chuck the rest in!
11. Lower the heat to a low-mid range, and stir to ensure everything is cooked through, nice and hot, for 1 minute. At this point, I added a hearty pinch of extra chilly flakes and a pinch of salt to taste, to boost the flavour and give it a small kick (it's honestly not too spicy).
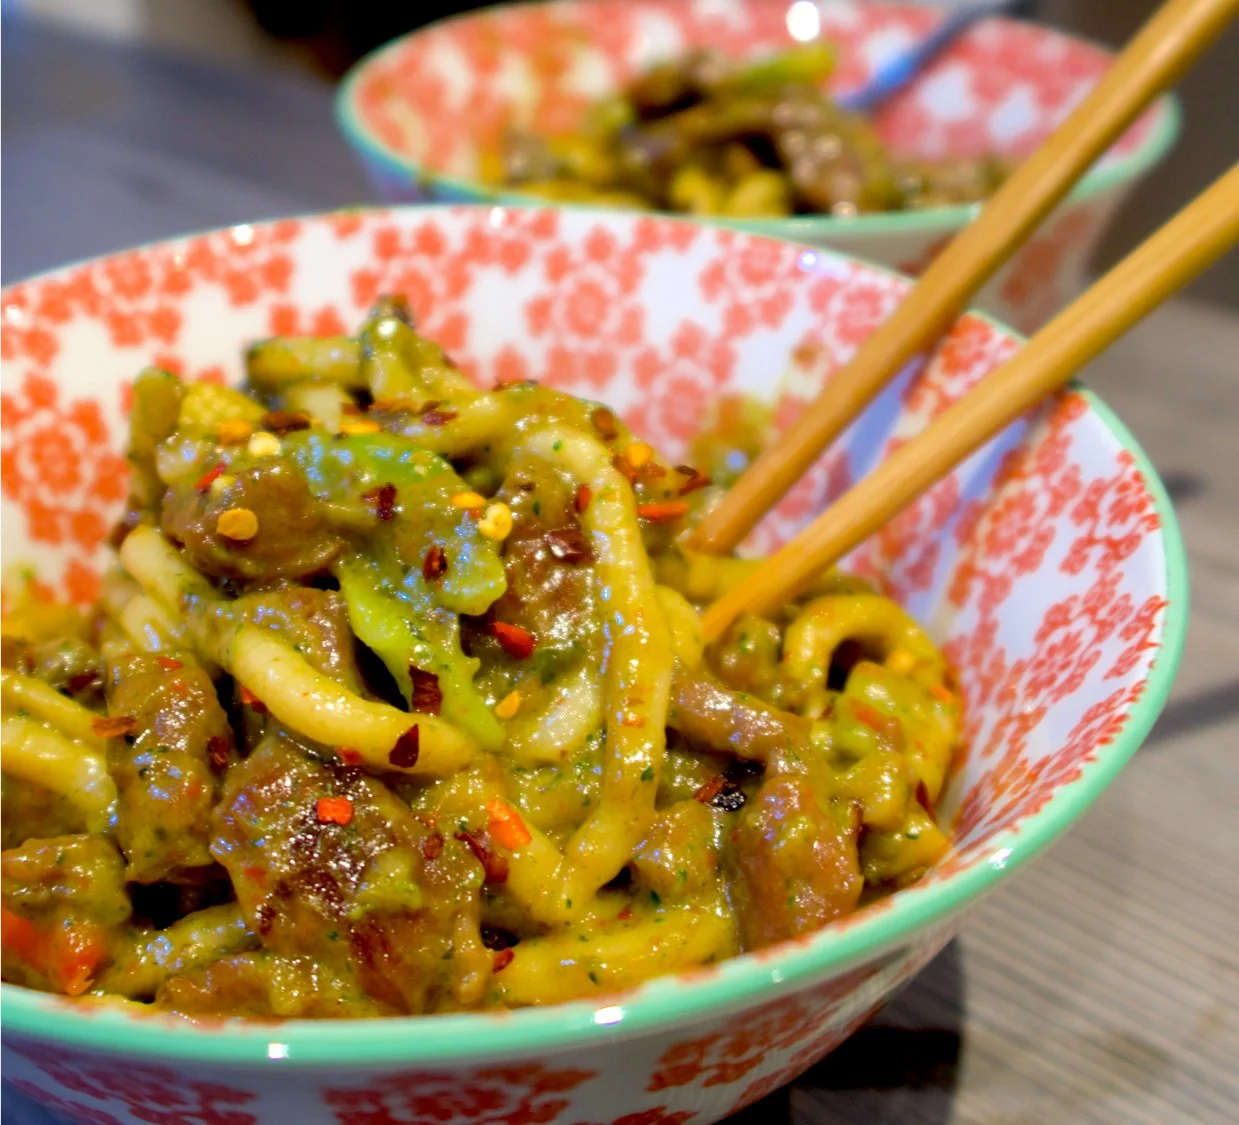
Serve it in some pretty bowls, and voila! Who needs a takeaway?!
If you give it a go I hope you enjoy it. Let me know how it goes, and if the beef is as soft as you expected!
Recipes like this remind me to just let loose in the kitchen, have a bit of an experiment, and enjoy the process as much as the end result.
Much love x
#food #recipe #chinese #diy #diytakeaway #velveting #tender #nuttyforcoconut #justgenerallynuttyreally